Adventure Diaries: Pinatubo
FINALLY. That is the word to describe this trip. FINALLY.
Ever since I came back from New York, I’ve wanted to hike up to Mt. Pinatubo. While this in itself is cool, Mt. Pinatubo was a stepping stone to my ultimate goal — to swim in a volcano. I don’t know when, why or how I got this”swim in a volcano” goal in my head. But I’ve had this on my bucket list forever because seriously, how cool is it to say “I’ve gone swimming in a volcano.” The fact that I don’t know how to swim doesn’t really matter. I just want to be in the lake, in a volcano.
Now, I can FINALLY say that, not only have I been to Mt. Pinatubo, I have bathed in its murky, hot/cold, green sulfuric lake water. It was an incredible journey. Now I can cross it off my list on this blog entry – My 2012 Travel Goals.
It requires preparation. The guides and blogs I found were helpful but after having done it, I realize that nothing online accurately captures what goes on when you hike up Pinatubo. I will try to make my post on it as comprehensive as possible.
Disclaimer — I have never trekked in my life. I’m not outdoorsy nor in top physical condition. I am just a regular person seeking to change things up and try something new.
Our Tour Operator
I chose http://www.trekkingpinatubo.com/
There were 10 of us in a group so we were able to avail of the P1999/per person rate.
There’s loads of other tour operators online. Make sure to choose wisely. They even have deals on sites like Groupon and Ensogo but be careful about the ones that are too cheap. I think a good average is anywhere from Php2000 – Php2,500. Depending on the inclusions.
((A note on this tour operator “Filipino Travel” : The service is pretty efficient, I did everything via email and over the phone. They book your trip pretty quickly. You pay P6,000 reservation to the company and the balance to the driver. Our driver was Mang Mon and he was really nice. The van is SMALL and quite uncomfortable though. They used a Liteace but for some reason there was hardly any legroom. Even my more petite friends had difficulty with the space. It made the ride unpleasant, it’s not built for long drives or adults. One of my friends said it was a commuter Liteace. Anyway, luckily my group wasn’t that picky and we were all too exhausted and sleepy to really bother.))
Pre-Trek Prep – I arranged the entire thing so my two main concerns were: Attire(footwear and clothing) and Food.
- Food – I assigned a food committee, one person made us all sandwiches. We each brought a big bag of chips to share and at least 1Liter of water each. We ate before we departed Manila (at McDonald’s). Some people snacked on granola bars and chips as we walked. We picnicked at the crater. Don’t bring food that is too rich or salty that will require you to drink too much water or dehydrate you. You have to balance your bladder, thirst and hunger at the same time. Especially since girls don’t have the luxury of peeing just anywhere.
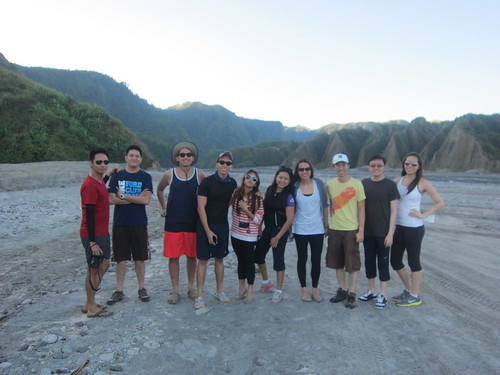
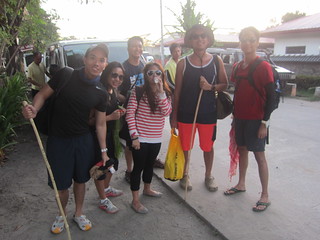
- Attire – The weather will be hot AND cold. November is the perfect time to go because while it was still hot, it was not humid, nor raining. It was cold in the morning (around 6am) and when we started our trek (around 830am) but the temperature quickly heat up plus when you get your adrenaline going on the trek, you warm up pretty fast. Wear comfortable clothing which will allow you to move easily. Our attire (see below) consisted of shirts, exercise tees, leggings, shorts, jogging pants. We wore our swimsuits under our clothes. In short, straightforward, simple and functional attire. Mt. Pinatubo is not the place to show off your fashion sense.
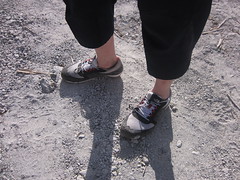
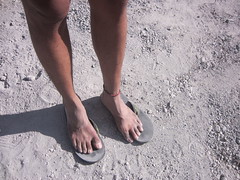
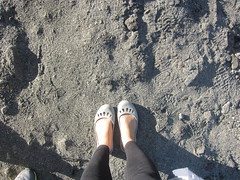
- Footwear – Okay. there was a BIG debate on this. This was my group’s biggest concern. I have to give credit to this blog entry: “What type of shoes to wear to Pinatubo” for giving a comprehensive guide. This helped us a lot but I will add my two cents — the entry says Crocs were the best. Myself and one other person wore Crocs and I have to say, I don’t know if it’s necessarily the best type of shoe to wear. Maybe because I’m not surefooted — I slipped (but thankfully didn’t fall) a couple of times. It’s good because you can get them wet but I lost a lot of traction once they were already wet. My friend who walked in Crocs said the same thing. My friends who wore regular sneakers fared pretty well but had difficulty crossing streams. If you had the water sneakers (the ones you can get wet), those would be the best. None of us had Jesus Slippers (birkenstocks or the like) so I can’t speak to these but I would think these would make you susceptible to cuts and maybe tripping. As for flipflops… um not a good idea. Just, don’t.
(From L-R: Hybrid Land/Water Sneakers, Not so Pretty Feet after Flipflops, Yours Truly’s Crocs)
Things to Bring (apart from food and water)
- Cash in loose change – you will need money for incidentals (drinks, food, shower, tips) and make sure these are in Small bills. P20, 50 and P100. Bring at least P1,000 extra in small bills.
- Sunblock – make sure to reapply constantly throughout the day.
- Camera
- Sunglasses and Cap to shield eyes from the sun. An umbrella could be useful also for this purpose.
- Scarf/Hankerchief to cover mouth from dirt.
- Towel for swimming. Make sure you don’t bring a fluffy towel because those get heavier when they’re wet. You don’t want to be carrying more weight when you descend.
- Tissue, wet wipes, hand sanitizer
- First aid basics – band aids (helpful for blisters and wounds), alcohol. I brought whiteflower which people laughed at me for but it came in handy when a friend of mine was nauseous from the 4×4 ride. I also brought anti-itch cream and allergy medicine, cuz I have sensitive skin.
- Mini Speakers – not a necessity but we brought cuz we played music on the walk and it kept us motivated.
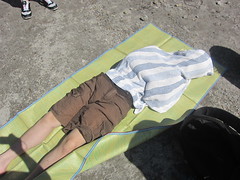
- Mats (banig) to sit on while at the shore. Make sure your banig is compact since you will have to carry it. Luckily you can buy these at the department store for P180. A beach towel will also do. Some tour operators include these materials in their fee. See below for example, one of the members of our group, “sunbathing.”
***PACK LIGHT – whatever you bring you will carry up and down the mountain.
The Big Day:
3:00am – We all gather at McDonald’s Quezon Avenue cor. EDSA. We buy some sandwiches and eat before we depart Manila.
3:30am – We are en route to Capas. Take a nap in the van. You will need your energy.
*On Energy – If you can avoid it, don’t even bother to go out drinking, partying til 2am and then think you can be on the van to Pinatubo at 3:30am. It’s a horrible idea. The lack of sleep, dehydration from the drinking will really take its toll on you on this trek. One of my friends went on a previous trek hung over and he said he had a really rough time. In my group now, someone trekked without any sleep and they were nauseated and dizzy. I had some friends take 12-hour energy shots and while this helped, I don’t know if they crashed after a while. Either way, get rest if you can.
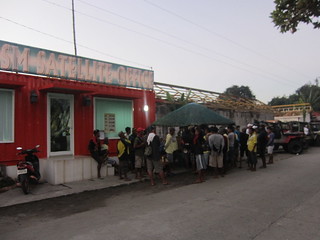
5:40am – Arrive in Capas. Our Driver, Mang Mon, registered us at the Tourism office. There were a lot of guides registering as well. You fill out forms and sign a waiver (of course). We took this opportunity to take a bathroom break. The bathroom charged us P10. We also took the time to slather on the sunscreen and purchase walking sticks for P20.
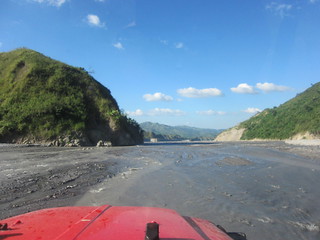
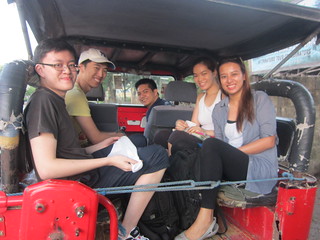
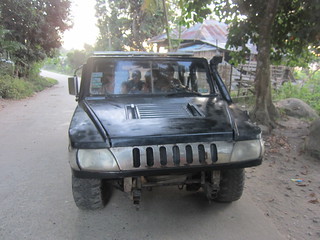
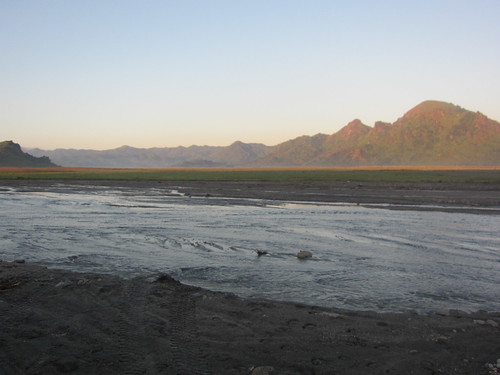
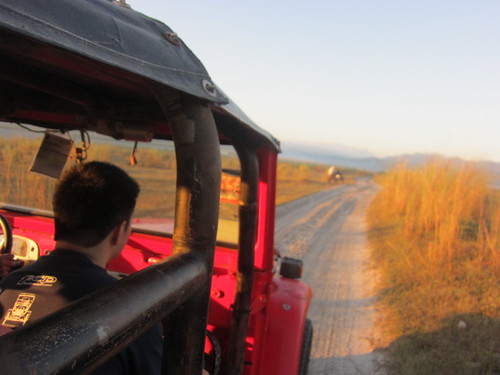
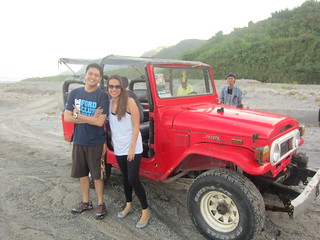
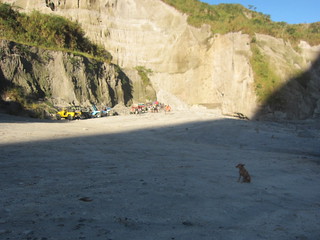
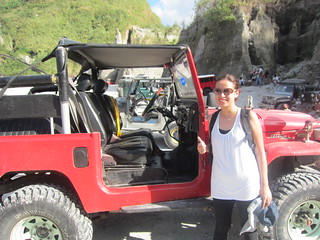
6:15am – Ride the 4×4 across Crow’s Valley to the Trek Point. Our guide Mang Romy told us stories about our surroundings. It is dangerous to cross during rainy season because the lahar hills erode and the water levels reach very high. If the winds are strong, they cause the sand to collapse as well. It is unsafe so make sure you choose a good time to go. I suggest November to January. Summer months can be too hot.
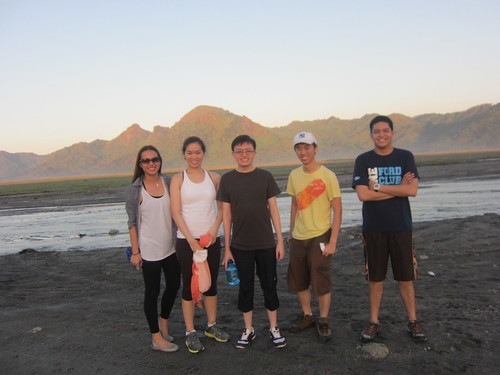
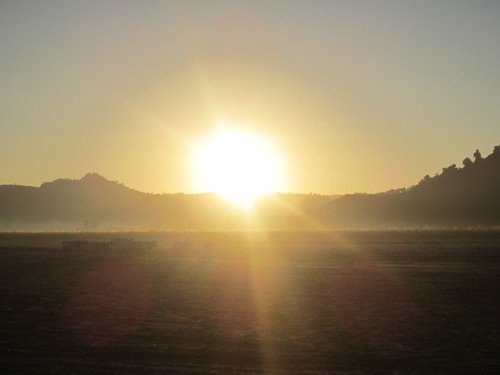
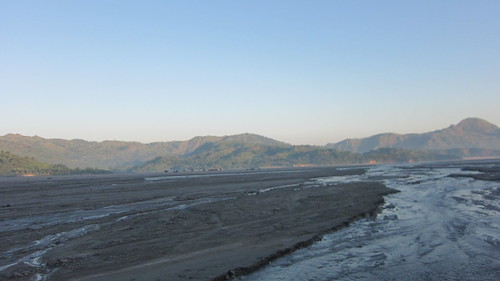
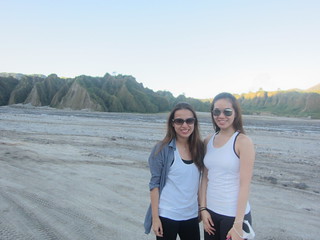
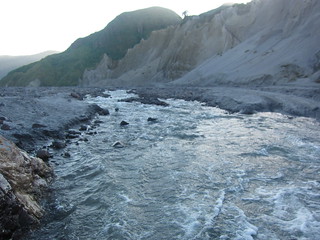
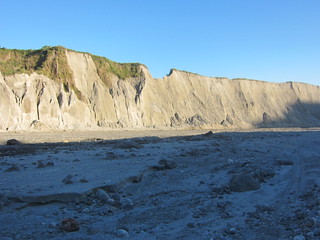
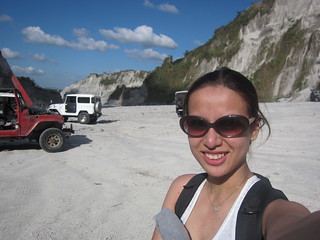
The views are gorgeous!! It’s the stuff National Geographic shows and postcards are made of. It didn’t feel like the Philippines at all.
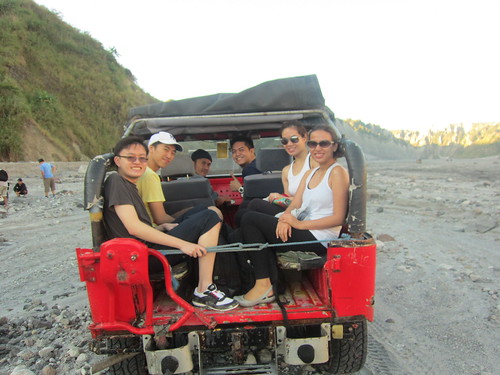
Our 4×4 turns into a convertible!
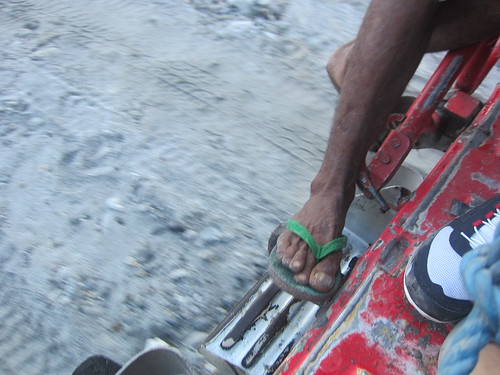
Our guide wearing tsinelas. He trekked in these. Amazing.
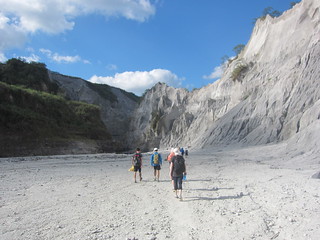
7:20am – Begin the 7km trek. We walked fairly slower than the rest since we were unsure of the terrain. This took forever. We were all exhausted.
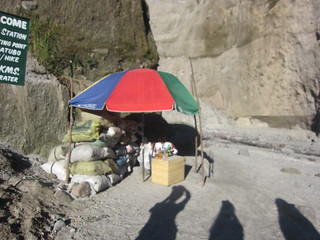
The umbrella you see is a “sari-sari” store. Drinks are of course sold at highway robbery prices with sodas at P100. They are good sugar sources though if you are desperate. And they’re cold.
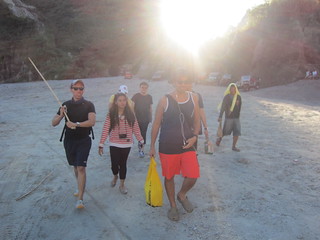
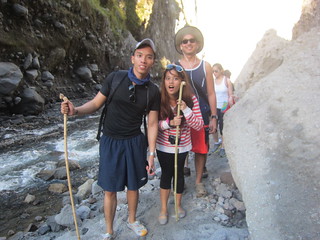
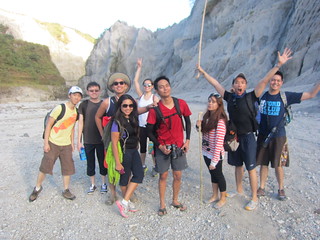
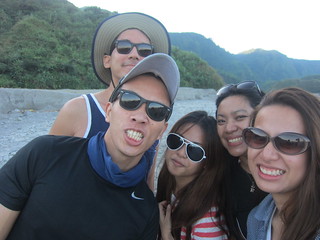
We looked like refugees crossing a rocky, sandy desert. The scenes are surreal and beautiful though.
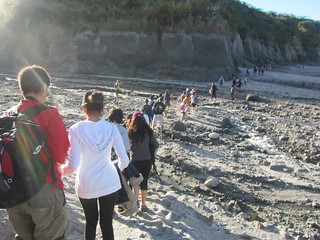
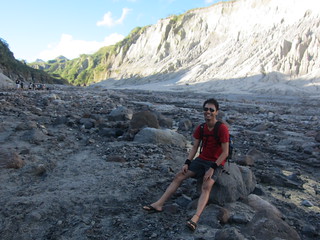
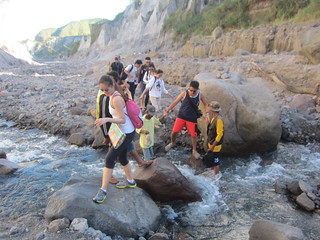
There were a lot of rocks. Lots of rocks. I don’t wanna look at another rock. I wish that I was a more experienced trekker because instead of really admiring the scenes, I kept looking at my path while I walked to make sure I didn’t trip or injure myself on these stupid rocks. Grr.
9:12am – Arrive at rest stop, with the 1Km mark. There is a toilet here and a water tank (I think it’s potable) if you need a refill. Backstory – apparently a few years ago this used to be the jump-off point since a “skyway” allowed the 4×4 to drive this distance. However a storm damaged the road making it impassable. So the closest that the jeeps can get are 7km away, hence the long walk.
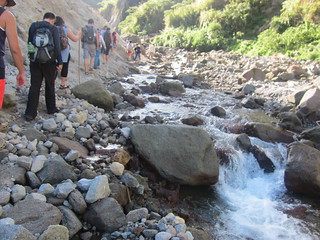
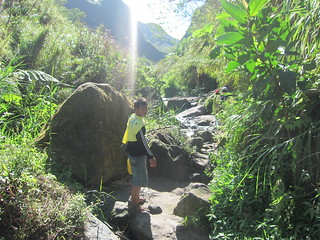
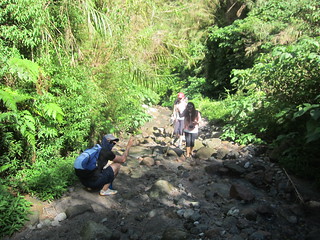
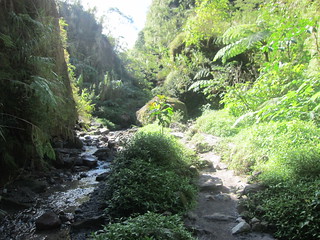
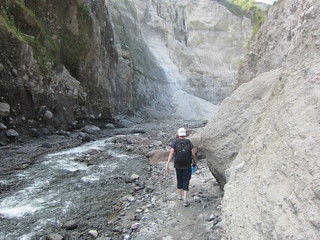
9:20am – Begin Final Home-stretch trek to the Crater. This is really difficult. It’s a narrow path through streams and large rocks. You have to be really careful.
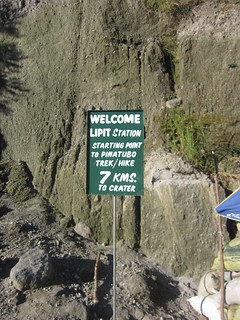
This sign is a blatant lie because it took us much longer than that.
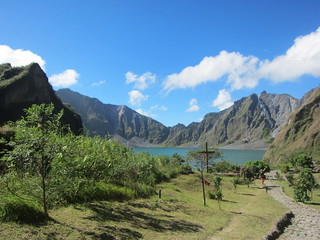
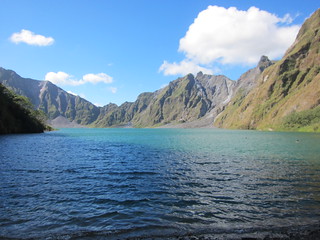
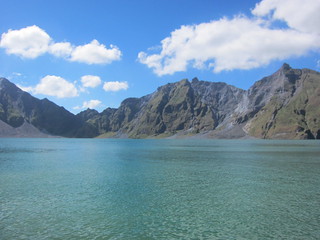
9:42am – First sighting of the crater!
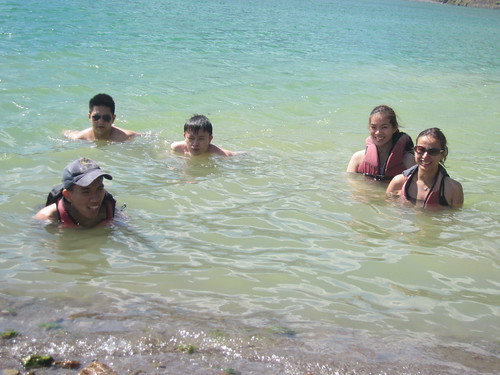
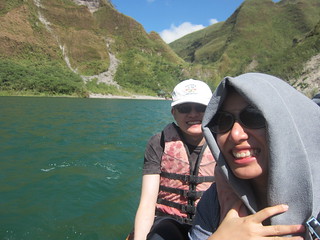
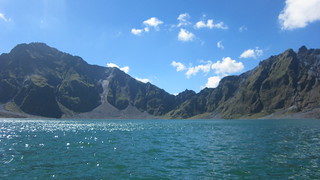
The big bucket list moment: SWIMMING IN THE CRATER.
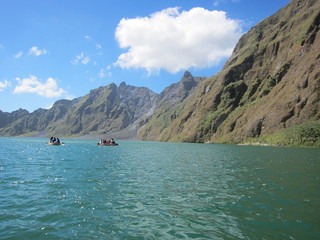
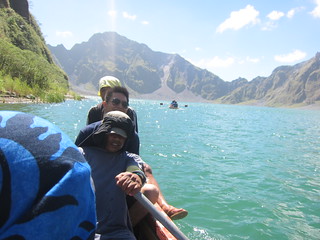
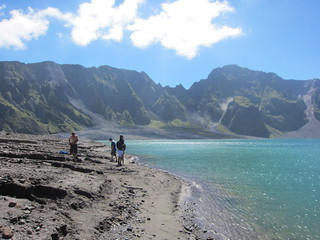
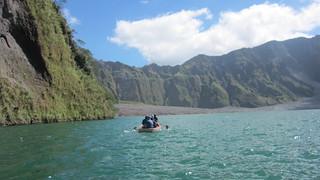
Boating to the other side of the lake. This is an optional activity but I recommend it only because it is quieter there and there’s less people. The view is more sweeping. The water is hot and cold and hot and cold. It is very confusing and quite an experience. The sand feels boiling, literally. It’s more “volcanic” in a way.
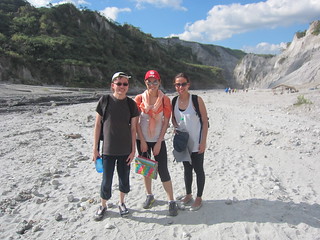
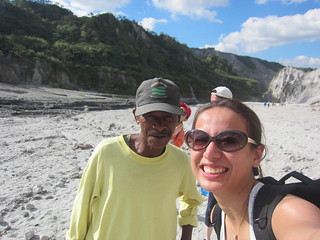
12:30pm – Begin the journey back. Fewer photos because we just concentrated on making it home since we were all tired. I was still determined to make the most of my trek and took the opportunity to snap shots of myself, my friend Lyndy and my other friend Verne who were the stragglers of the group. I took a quick photo with our guide as well. Our guide walked partially barefoot, partially with tsinelas. He is the reason I came out of this trip uninjured since he helped me navigate some tricky paths (him in tsinelas, me in crocs!) I admire his skills. He’s Aeta as well.
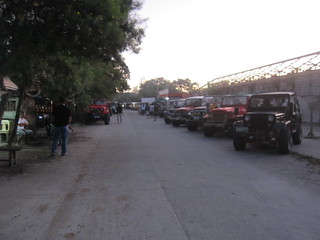
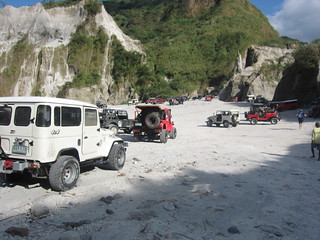
When we reached the end there were lots of 4×4’s waiting to pick up the trekkers still at the crater. We were glad we were one of the first to descend.
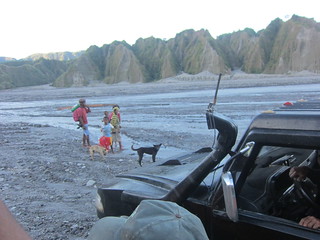
Sat in the front and got to witness the driver’s skills in action.
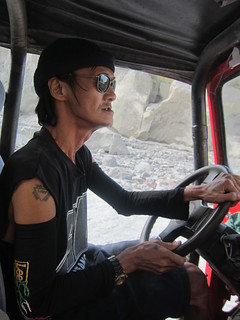
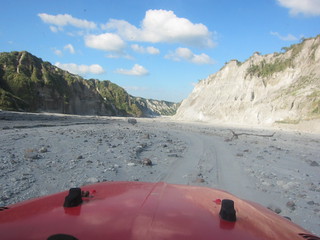
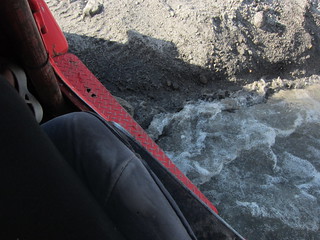
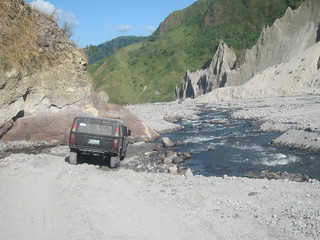
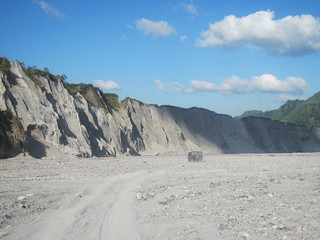
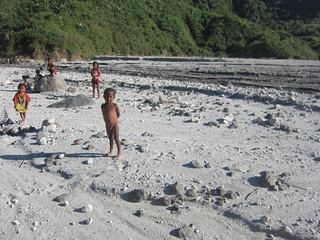
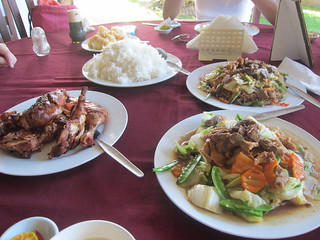
4:00pm – Late lunch (P250 per person) at the Pinatubo Spa Town – Mixed reviews on this food. Some hated it. It’s not going to win any awards but I thought it was a decent spread. Good enough for hungry trekkers. They also allow you to shower for P100. Please note these amenities are optional.
5:00pm – Back to Manila. Slept in the Van. All exhausted. We made it back to Manila around 8:00pm. No traffic but we stopped at a Caltex to have dinner.
Expense Tally: (for the budget conscious trekkers)
Per Person Expenses (Those with * are optional and you can choose to do when you get there)
P1999 for the tour
P350 for the boat*
P250 for the lunch*
P70 for the drinks during lunch*
P100 for the shower*
P150 for the Tip Pot*
Tips (Tip Pot total was Php1500 because we all chipped in P150)
–P300 for the Van Driver, Mang Mon
–P400 for each Pinatubo Guide (we had two guides for our group of 10)
–P100 for the boatman
–We wanted to tip P100 each to the drivers of the 4×4 but they were no longer around.
–We still had money leftover which I redistributed to the group.
Would I do it again? It was an amazing experience but I would say say once is enough 🙂
8 Responses to Adventure Diaries: Pinatubo
GOOGLE!
Recent Posts
- Hello, 2020!
- Looking For: Place to Host a Birthday Outreach
- Website Problems
- Follow Me on Instagram
- Missing you, Juelly.
- Musings: Wealth
- Assorted Whiskey for Sale
- Mosaic by the Creek
- The Stranger in Ultra
- 5 things Filipinos need to do to be better people
- Melchor Flores and the Strange Phonecalls
- Hello, I’m alive!
- Nanay Elsie
- Diet Diaries: Fit Food Manila Week
- Let me tell you about my dog, Jazzy
- Nahm at the Metropolitan Bangkok
- Separation Anxiety
- Diet Diaries: Paleo Manila Day 4 and 5
- Diet Diaries Paleo Manila Day 2 and 3
- Diet Diaries: Paleo Manila Day 1






Congratulations, Finally you have achieved what you’ve always wanted to do. Your parents just couldn’t say no because we were worrying too much.
Glad you had a great time. The photos are magnificent. The experience would last forever. The best part of it all, you came home safe and smiling. Love you anak.
Thank you mama. Love you too.
when we hiked there i used the ordinary slippers and its comfortable when crossing streams,and i finished the trek without any cuts :), just bought it at SM for 75.00 🙂
wow! you must have been really surefooted. kami, lagi nadudulas haha. And my friend who wore tsinelas, kawawa kasi he had a lot of cuts. 🙂
Lovely photos! What kind of camera did you use? Would you recommend trekkers to bring DSLR cameras or not?
Hi Wax!
I used a regular point and shoot – Canon Digital Ixus. I own a DSLR but I thought twice about bringing it because my backpack was already quite full. I knew that I would need all my concentration and strength on the trek so I brought a small camera instead. It served me pretty well. I’m happy with the way the photos came out. Of course my friend, who had the DSLR had much crisper, perfectly exposed photos. However, if you’re not that particular, you should be okay with a point and shoot, or an iPhone which is what many of my friends used.
If you bring a DSLR (and many people do) you should be okay. Although, of course you have to be committed to bringing it. If you’re used to carrying it around then go for it. If you’re not then, you will have difficulty. One way you could do it is be the photographer of the group, pack light and bum off people’s supplies. Haha.
Hope this helps!
Julienne
Your whiteflower was of big help! Thanks Jules!
Enjoyed the trip! Can’t wait for our next one. This time, Ill bring “yaya” and my “kargadors”.